Navigation: Basic Working Procedures > Service Agreements >
Create an Agreement


|
Navigation: Basic Working Procedures > Service Agreements > Create an Agreement |
|
See below for various ways to Create a New Agreement. See Display the Agreement Screen in order to add or change information later.
There are several ways to create a new entry:
| • | On the Lower Tasks Panel select the Action Manager and select New |

| • | Or, on the Work Menu Bar at the top of the screen, beside the Menu button for the entry, select the down-arrow. On the drop-down menu, select New for your entry. |
| • | Or, from the Lookup screen, you can always create a new entry: |
| ► | On the Top Tasks Panel, select the Lookup Manager. Then select the specific Lookup. |
| ► | Or, on the Work Menu Bar at the top of the screen, you can either click the Menu button for the entry, which takes you right into the Lookup, or click the down-arrow and select the Lookup |
| ► | When you are in the Lookup screen you can create a new entry using the Actions button. (See also, Keyboard Shortcuts.) Or, just click on the New button at the bottom left of that screen. |
| • | To start creating the new entry, the Select Customer and Job Site Screen screen will appear. Note the Quick Add button for new Customer and Job Site: |
![]()
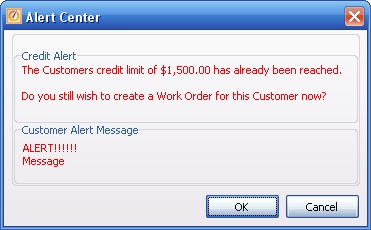
| • | Once you have selected your Customer, the Alert Center screen may appear, with a Credit Limit or Credit Hold Message or a Customer Alert. Employees must have Security Rights to Override Credit alerts. |
| • | As soon as you select your Customer & Job Site, the first screen for your entry will appear. |
You can also create new entries when you need to, at these places:
| • | On the Customer Snapshot Screen, use the Work Order Tab - click on the New button on bottom left |
| • | On the Customer Snapshot Screen, use the Agreements Tab - click on the New button on bottom left |
| • | Customer Details Screen - click on the Actions button, then select from Initiate Transactions |
Page url: http://www.fieldone.com/startech/help/index.html?_set_up_agreements.htm