Navigation: Basic Working Procedures > QuickBooks® Integration >
Steps to Synchronize to QuickBooks


|
Navigation: Basic Working Procedures > QuickBooks® Integration > Steps to Synchronize to QuickBooks |
|
Steps to Synchronize to QuickBooks cannot run if you have not performed Steps to Import from QuickBooks.
As the Accounting Integration Export runs, if it finds no matching record in QuickBooks, it will create a new entry there for the transferred history. (It could be helpful to understand the logic involved here, to avoid some unusual situations and to learn about using QB Name fields. See Understand QuickBooks Naming Exceptions regarding Names and new and existing records in QuickBooks.)
Preparations on the QuickBooks side:
| • | Log in to your QuickBooks Company file |
| • | Keep this file open during the Export process |
Steps in FieldOne:
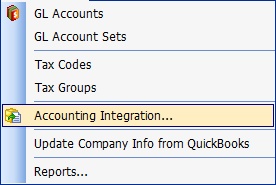
On the Work Menu at the top of the screen, click on the Accounting down-arrow. Select Accounting Integration.
From the Accounting menu select Accounting Integration.
Tip: You can also click on the Accounting button there, without using the down-arrow.
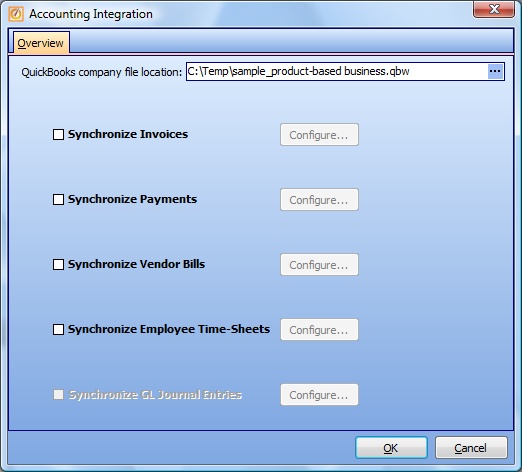
The Accounting Integration screen will appear:
The Items Synchronized to QuickBooks support the following routine QuickBooks processes:
Synchronize function |
Supports QuickBooks process |
Use the check-boxes to choose one or all of the above Transaction Groups:
| • | For each selection you will notice that a Tab is added to the Accounting Integration screen for that Transaction Group. |
| • | Click the Configure button (or the Tab) to display that Transaction Group screen. |
| • | Review the Details and use the check-boxes to select the Transaction Details to be exported. |
| • | You can click the Select All button at the bottom of the window to put check-marks in all the boxes. Then you can go back and make changes for exceptions. Use this to save a lot of time, especially with large groups. |
| • | Note: If you bypass the Configure selection, then there are no Transaction Details selected for Export, even though you have checked the box for that group. In this case, no transactions are synchronized. |
QuickBooks file selection:
At the very top of the Accounting Integration screen you need to control the destination for the Export by setting the correct value in the field QuickBooks Company File Location.
Note the shortcut button called QB Opened File, which should give you the exact file location to use.
By default the system will show the Location (path) defined in the QuickBooks File Location field in the Company Preferences, Quickbooks Tab. However there may be occasions when you wish to use an alternate QuickBooks file. You can change the path manually to another selection for a special purpose.
Make sure that you use exactly the same path that you used in QuickBooks to open the file over there. See Steps to Import from QuickBooks for an example of the Location(path).
Page url: http://www.fieldone.com/startech/help/index.html?_qb_steps_to_synchronize_.htm