Navigation: General Company Settings >
Custom Imports


|
Navigation: General Company Settings > Custom Imports |
|
You may wish to use Custom Imports to bring in data from already established data files outside of FieldOne. This can save you a lot of time by avoiding needless data entry. After an import you can review and maintain the new records that have been brought in.
Getting started:
On the Work Menu at the top of the screen, click the System down-arrow, and select Custom Imports, then select the type of Import.
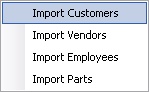
| 1. | Open the Import function: |
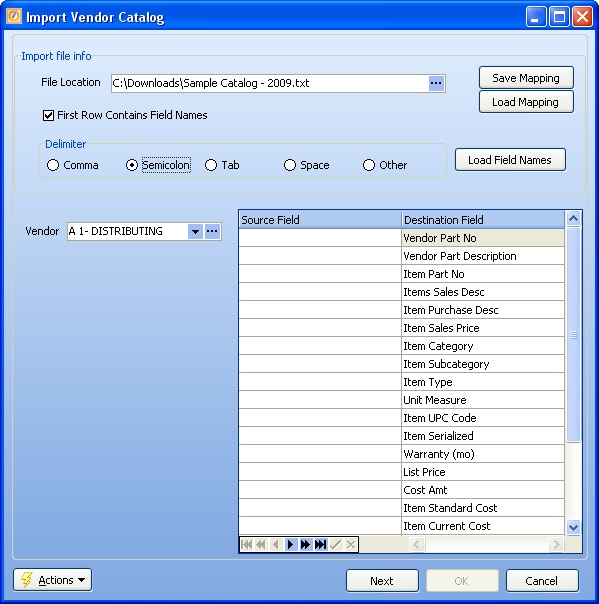
The Import screen will appear:
(Note: All images used for illustration here come from Import Vendor Catalog, but apply generally.)
| 2. | Describe the incoming data file: |
Fill in the fields that describe the file to be imported that resides outside FieldOne.
File Location:
Enter the File name and "file path" location of the data file received and stored on your computer.
For example: in the screen above the Vendor Catalog is located at: "C:\Downloads\Sample Catalog - 2009.txt"
Save and Load Mapping buttons:
The optional Save Mapping and Load Mapping buttons allow you to record and save an import setting for future use, and then load it back again.
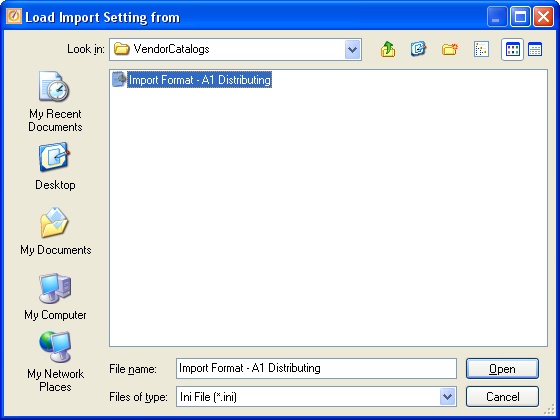
The information you save here is all the information on the initial import screen above, including the File Location and the Field Mapping selections. You give a "friendly" name to this import setting and store it where you can find and recognize it. Then you can use the Load Mapping Button to retrieve this "file path" and put defaults into the screen fields.
For example: in the screen above the Vendor Catalog is located at: "C:\Downloads\Sample Catalog - 2009.txt" and the Mapping information is saved in a file named "Import Catalog - A1 Distributing" in a folder called Import Catalogs on the user's desktop.
First Row Contains Field Names:
The check-mark indicates that the first row of data in this file contains names for the fields used by the external file. These will be the Source Field names used to match to the FieldOne Destination field names in the Mapping Panel below.
Delimiter:
The supplier of this external file or your IT department will inform you of the correct selection here. The "delimiter" is the separation mark used between incoming fields during the mapping process.
Load Field Names button:
Click this button when you are ready to load in the actual external file. This will load in the field names to be used in the mapping section below.
Completion of the loading step is invisible. To check completion, on the Mapping Fields panel below click a Source Field and then click its down-arrow. You should see a list of external field names.
Note: If you receive the following message, click OK to continue, or "X" to cancel.
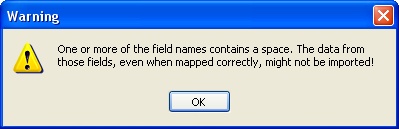
| • | In order to get good data from some of the Source Fields, you may need to get help from IT or the supplier of your file. (Review the result to see if data in certain fields is missing after the import.) |
| • | Perhaps you only need to edit the incoming file and remove blanks from the Source Field names in the first line of the file. |
| 3. | Select and Map the Import Fields: |
On the same screen is a Field Mapping panel where you select the incoming fields and indicate where they are going.
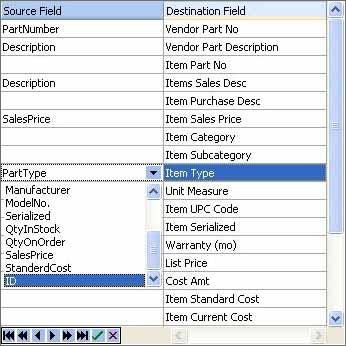
The general idea of Field Mapping is to identify a certain field from the incoming file - the Source Field - that will import over to a FieldOne Destination Field. You need to do this field-by-field for all the fields that you wish to work with in the future. This is a good reason to use Save Mapping, because the detailed work of Field Mapping can be retrieved.
In the illustration above, quite a few Source Fields have already been selected to map over to the Destination Fields. In order to see the down-arrow and to determine whether any fields have been loaded from the import file:
| 1. | Click on the desired field. |
| 2. | The down-arrow appears. |
| 3. | Click on the down-arrow. |
| 4. | The list of imported fields appears. |
When you have finished Field Mapping, click the Next button at the bottom right to continue. The preparation of the next screen is usually very speedy, but you receive a warning as a reminder:
| 4. | Control the Import Records: |
The Record Selection screen will now appear:

Here you prepare the actual records that will be imported into FieldOne. There are a number of things you can do to customize the import results to suit your needs.
| • | Select only certain records from the external file supplied to you. |
| • | Change or set values for certain fields in one or more records. |
Use the Column and the New Value fields, along with the Set Values button, as described below.
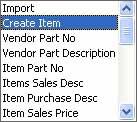
Column:
The predefined values in this Simple Lookup Box contain names of all the FieldOne Destination fields displayed on this screen, always starting with Import, then followed by whatever field names you have selected for Field Mapping.
New Value:
The field format differs according to the nature of the Column. Enter the value for any change you want to make in the selected Column for all records selected for import.
NOTE: Set the New Value to a blank to de-select check-boxes, for columns such as Import.
Set Values button:
When you click this button, all the records planned for Import will have this Column changed to the New Value.
Examples and hints:
Here are some typical situations and choices:
| • | To add a handful of Parts, not the entire list: |
| 1. | Set Column to Import. |
| 2. | Set the New Value check-mark to empty. |
| 3. | When you click the Set Values button, the check-mark is removed from all Parts displayed and you can hand-pick the few that you wish. |
| • | To use the column called Create Items (Parts records) for all (or some) imports. |
| 1. | Set Column to Create Item. |
| 2. | Set the New Value to contain check-mark. |
| 3. | When you click the Set Values button, the check-mark is entered for all Parts displayed and a new Part will be created for each record imported. |
| • | To have some value overlay a certain field. An example: |
| 1. | Set Column to Vendor Part Description. |
| 2. | Set the New Value entry field to "Spring Catalog - 2008." |
| 3. | When you click the Set Values button, this field will be changed in every record. |
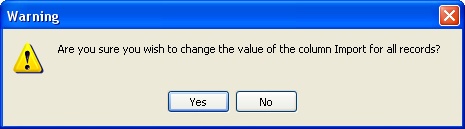
| • | You will receive a Warning message before changes are applied to the entire set of records: |
| • | Often, after changing values in all records, you may wish to go back through the list and change selected records to have different values. |
| • | Important - you can click on detail lines on the screen and change individual field values manually, if just a few records need changing. |
| 3. | Finish the Import Process: |
When you have finished selecting and preparing the import records, click the OK button at the bottom right to continue. The final process to create the records in FieldOne is usually very speedy, but again you receive a warning as a reminder:
When the process completes, it returns you to the work screen from which you requested the function. At this point you can go visit the destination of the import, such as Customer, and review the results in the Lookup screen and on individual records.
Page url: http://www.fieldone.com/startech/help/index.html?_company_custom_imports_.htm